What happens, week by week

First call to first swim.

Most new builds take 12–16 weeks once we break ground. Permitting adds another 4–8 weeks depending on your city and lot. You'll get a clear schedule at signing and weekly updates. One owner stays on your project the whole time.
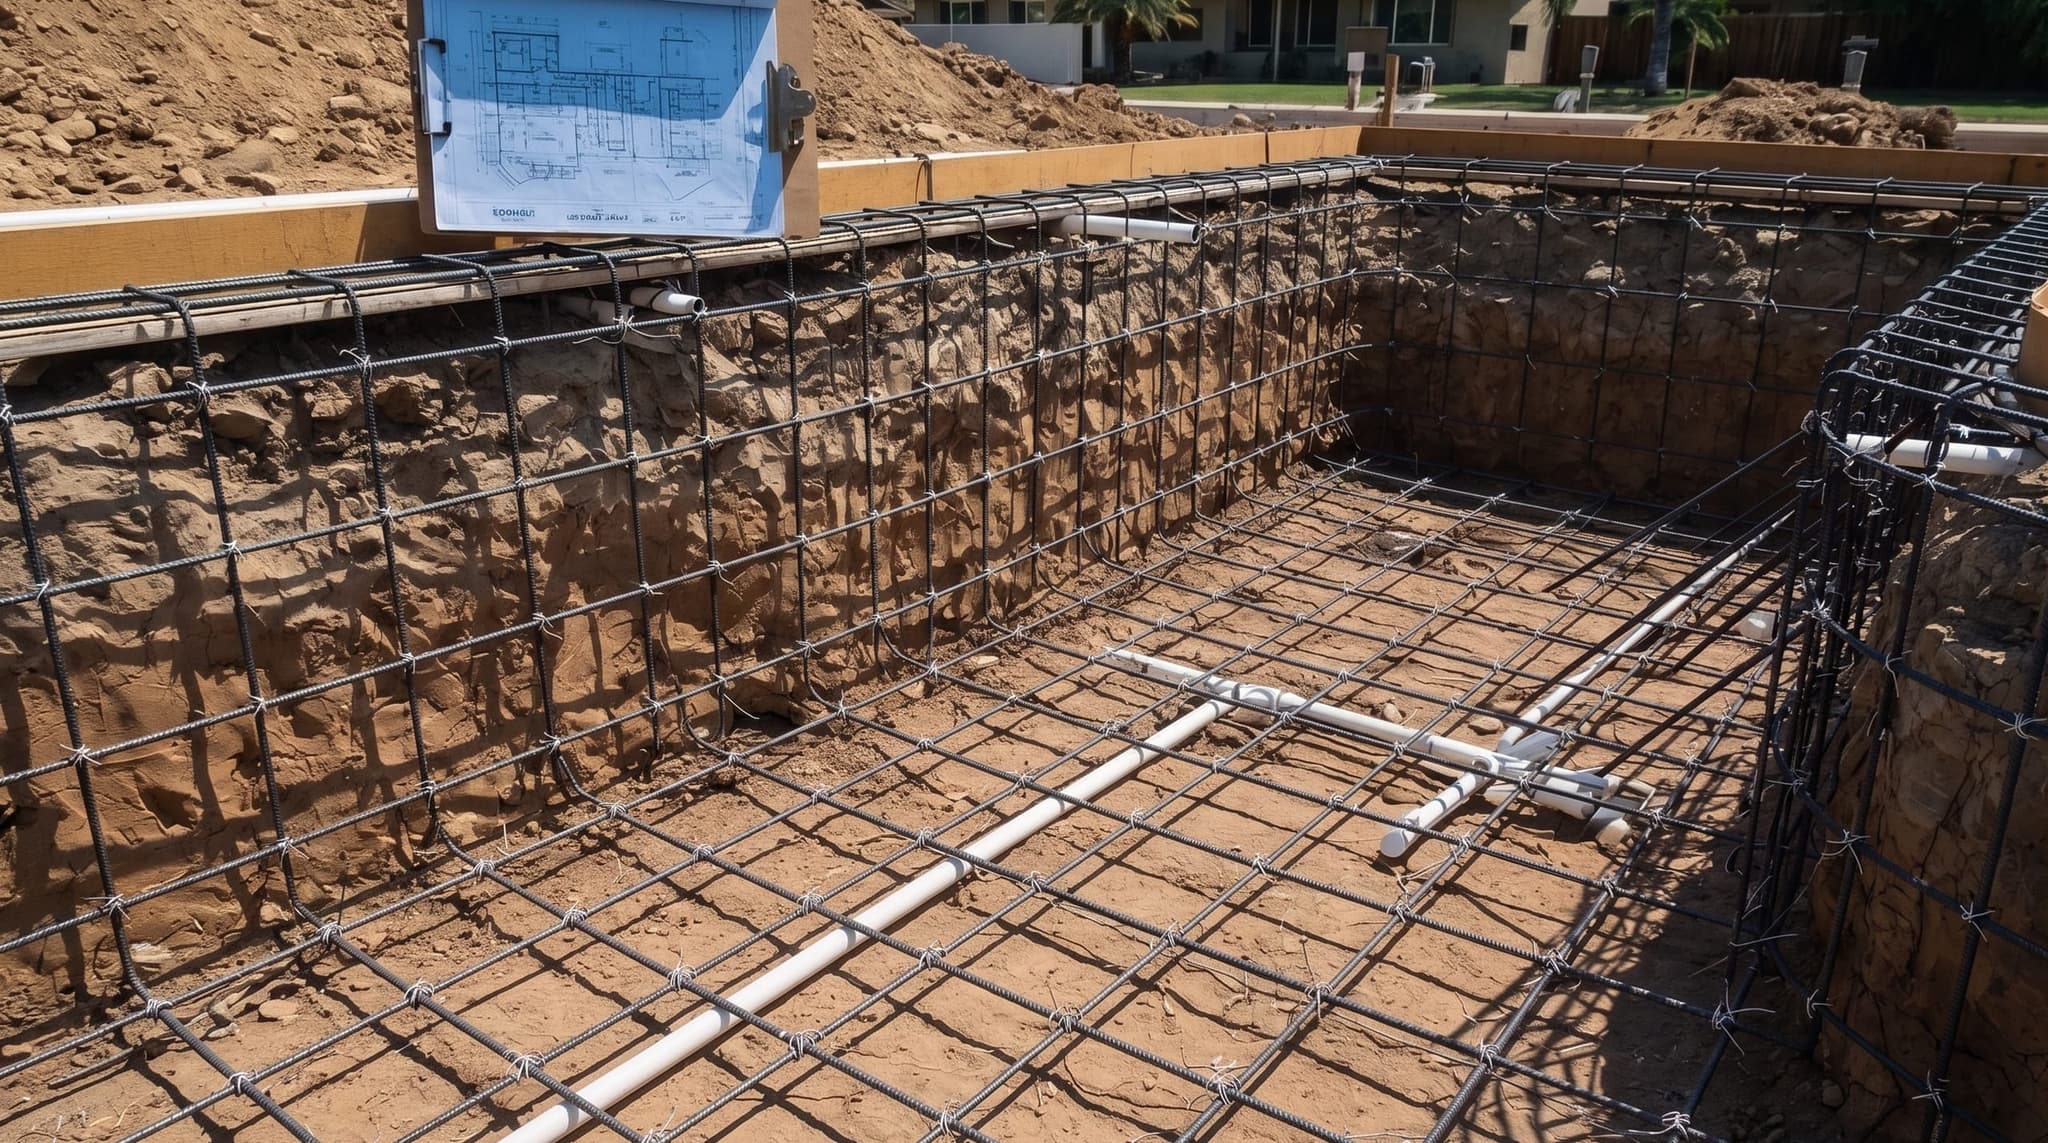
Freshly tied steel rebar cage in an excavated pool pit on an Inland Empire residential lot. Gleaming new black steel in a grid pattern with hydraulic plumbing lines, engineered plans on a clipboard at the deck edge, residential homes visible in the background under sharp midday sun.
  1. 01

    Pre-build: Design & estimate

    First call to see if we're a fit. Then we come walk the yard with you and listen. We bring back two or three design directions until one feels right. Itemized estimate, no surprises. We don't sign or take a deposit until you're ready.
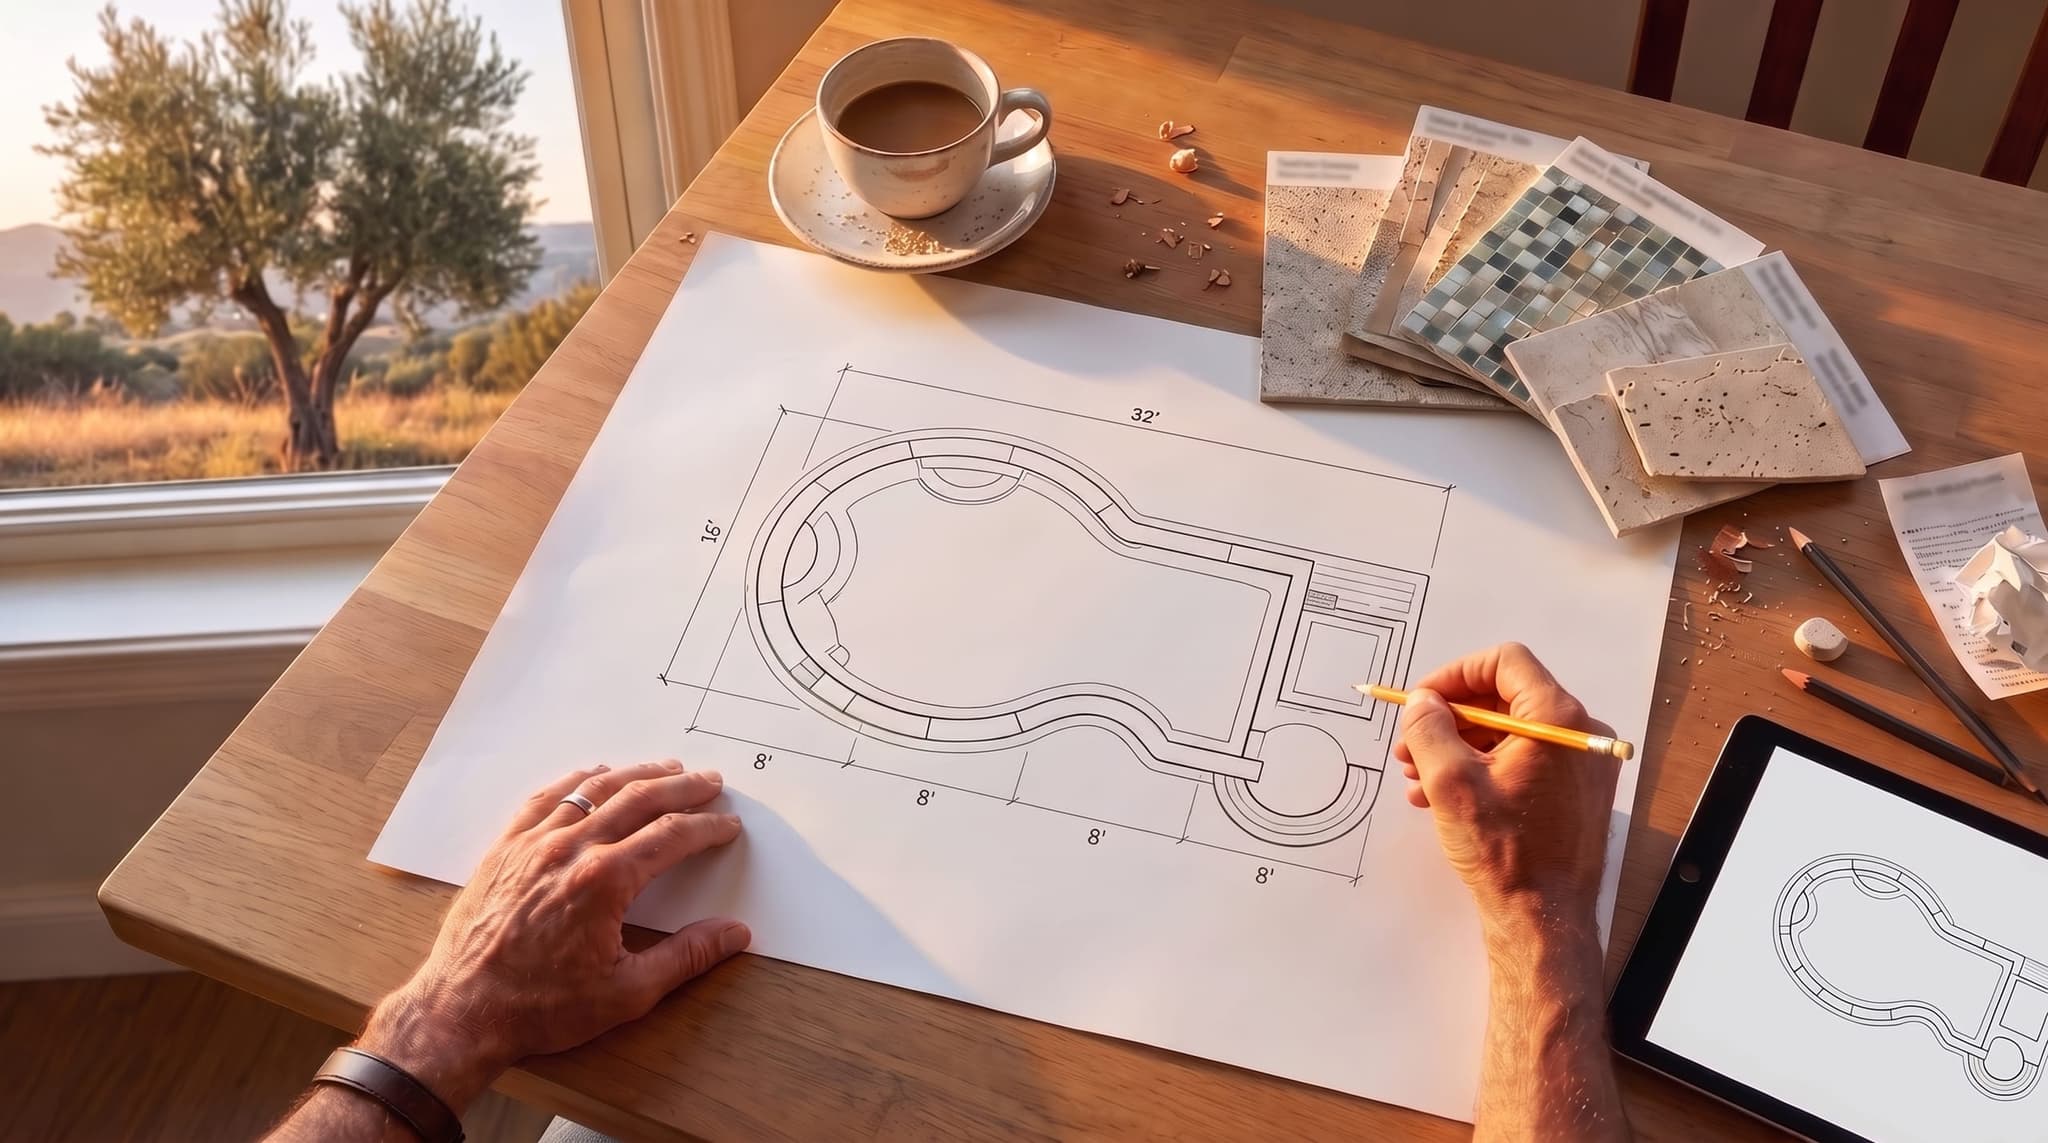
    Overhead shot of a designer's workspace at golden hour. Hand-drawn pool plan in pencil on cream sketch paper with measurements and arrows, surrounded by material sample chips (pebble finish, glass mosaic tile, travertine coping), a tape measure, a leather notebook open with handwritten notes, a coffee cup, and a corner of a tablet showing a 2D pool layout. A pair of weathered hands holds a pencil, mid-annotation. No faces in frame.
  2. 02

    Weeks 1–4: Permits & site layout

    We pull the city permits. We run the structural engineering. We call for utility locates. If you're in an HOA, we hand you the engineered plans for your submittal. The city-side paperwork is on us. Once permits clear, we'll stake the pool footprint on your lot so you can walk it before we dig.
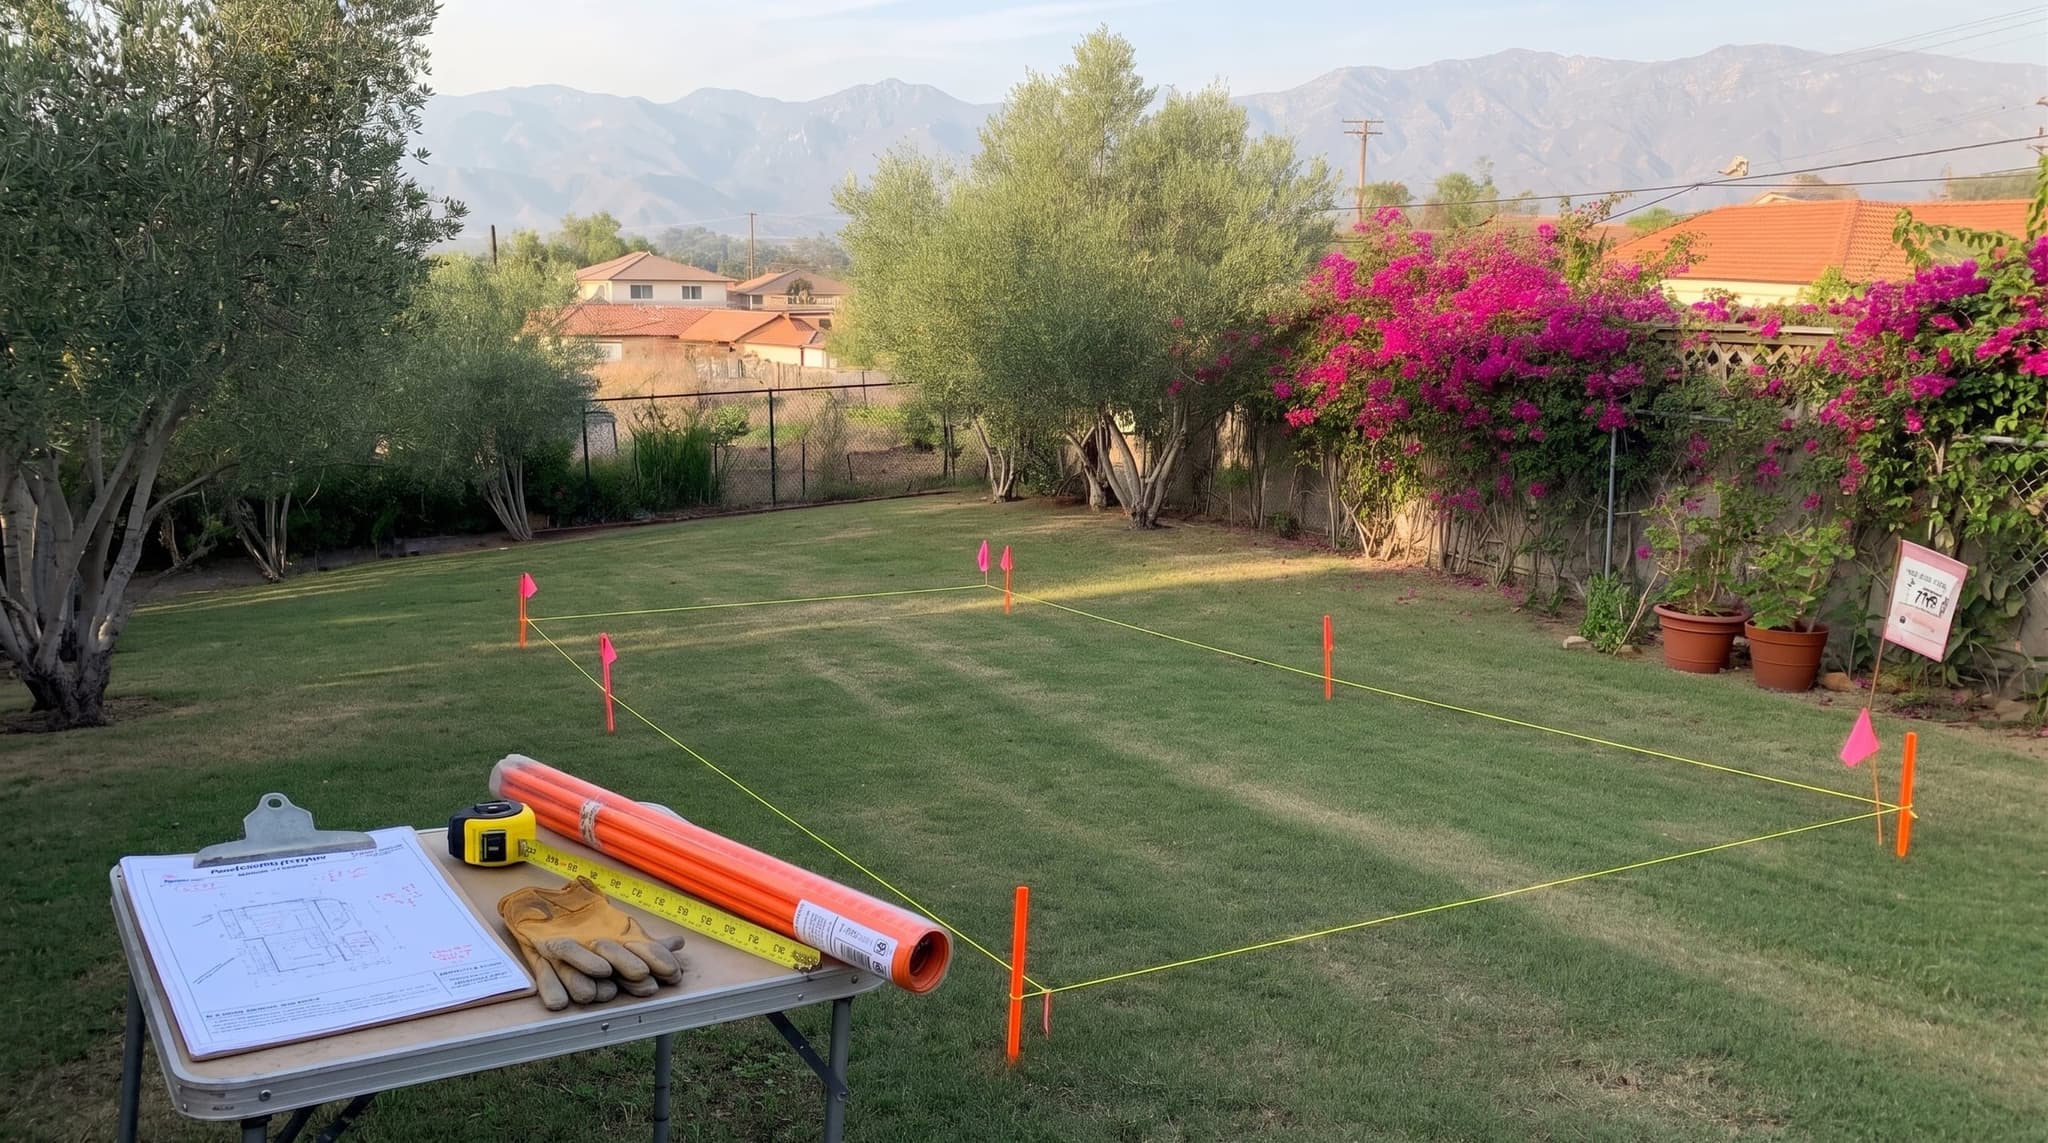
    Backyard of an Inland Empire home at mid-morning. The pool footprint is staked out with bright orange surveyor's stakes and yellow string lines forming a clean outline. A clipboard with engineered plans rests on a folding sawhorse table beside work gloves, a 100-foot tape measure, and a roll of stakes. Mature olive trees and bougainvillea border the yard.
  3. 03

    Week 5: Excavation

    Demo first if anything has to come out. Then the dig. We haul away the spoils. The pool shape goes into the earth. This is the biggest-progress day of the whole build. You'll see your pool come out of the ground.
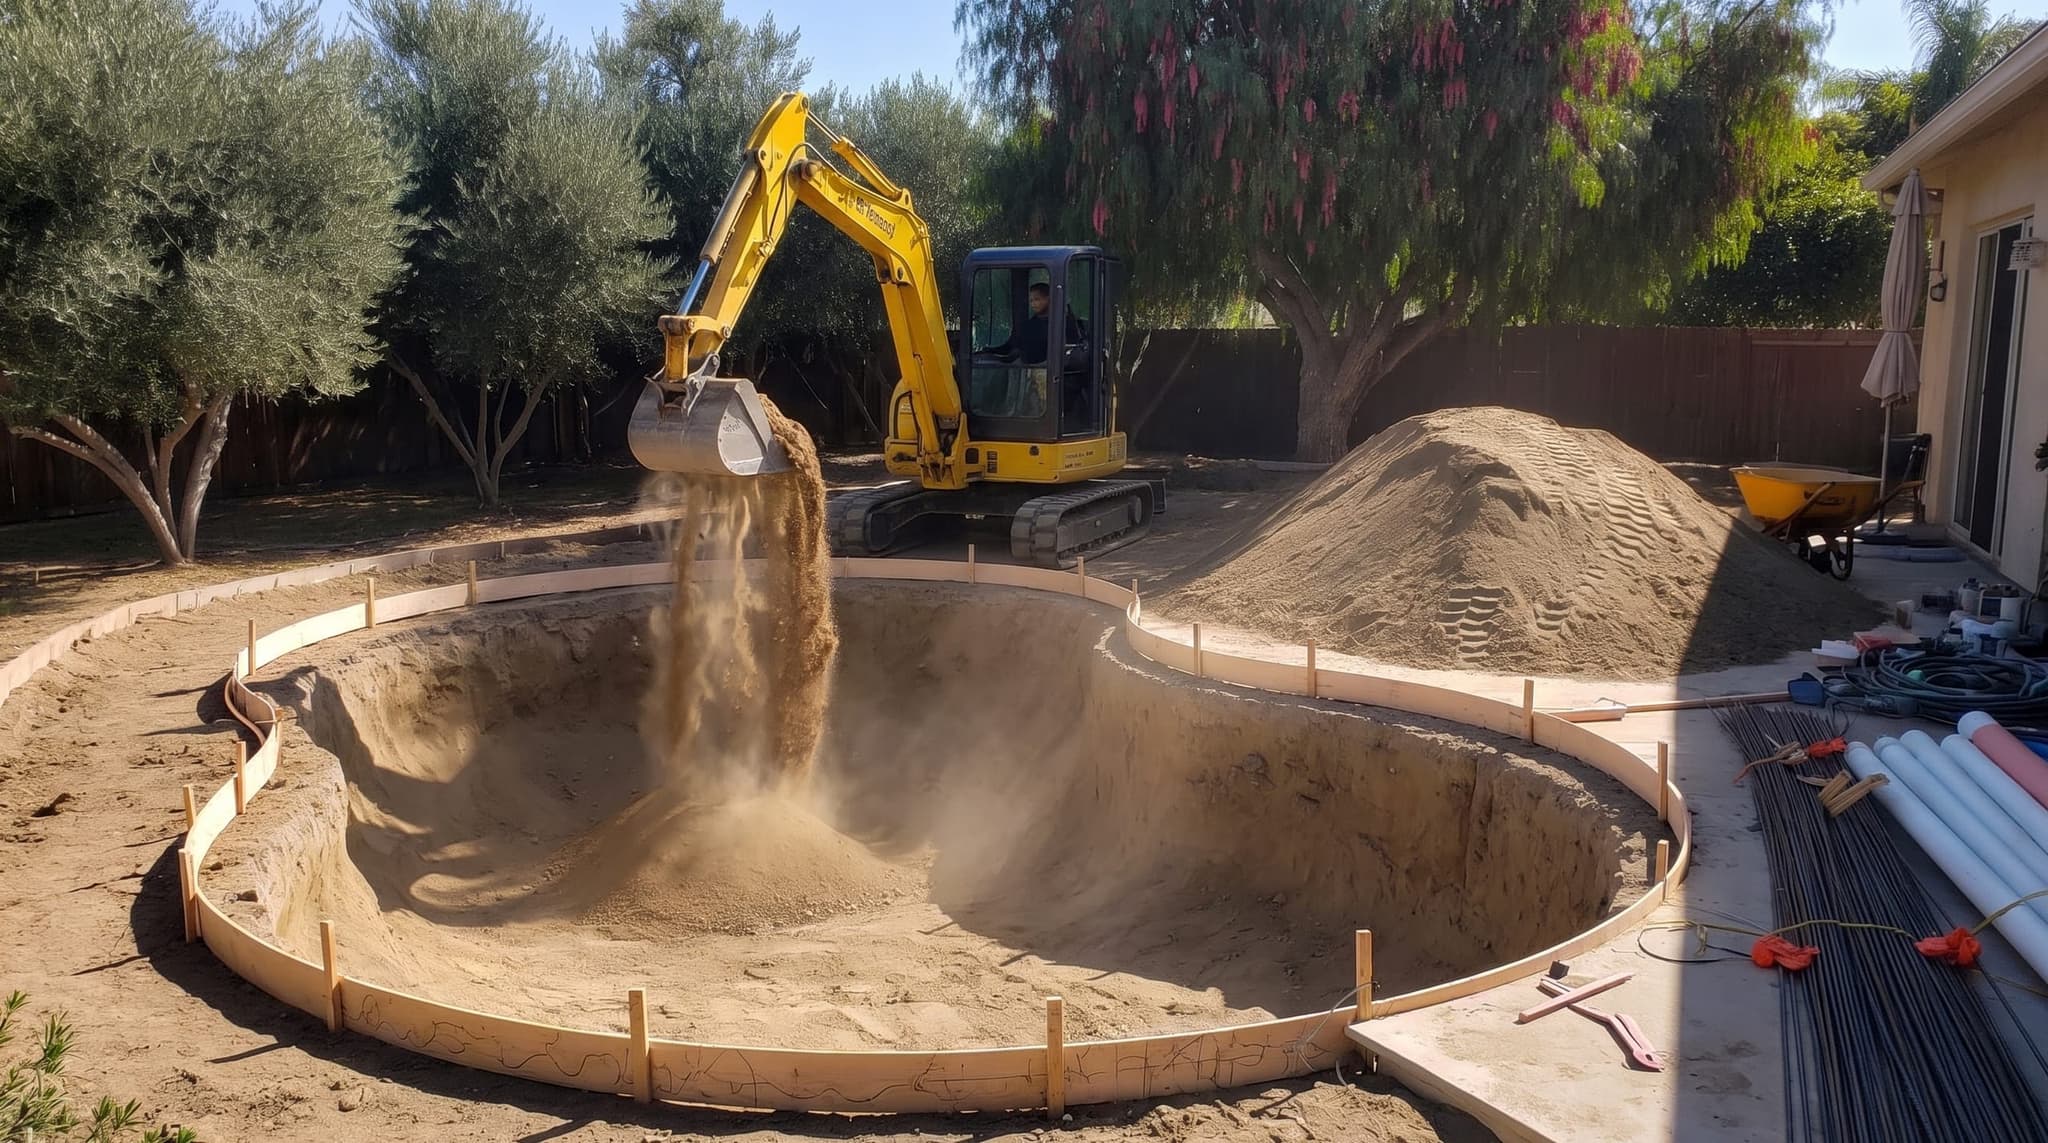
    A mid-dig moment in an Inland Empire residential backyard at midday. A yellow compact excavator is mid-bucket-lift inside a roughly excavated pool pit, with the freeform pool shape clearly emerging from the earth. Loose dirt piled neatly to one side awaiting haul-off. Rebar bundles and PVC plumbing rolls staged at the deck edge for the next phase.
  4. 04

    Weeks 6–7: Plumbing & steel

    We rough in the hydraulic lines: skimmer, returns, main drain, and any spa or feature. We tie the structural rebar to the engineered spec. City inspectors sign off on plumbing and steel before anything gets buried.
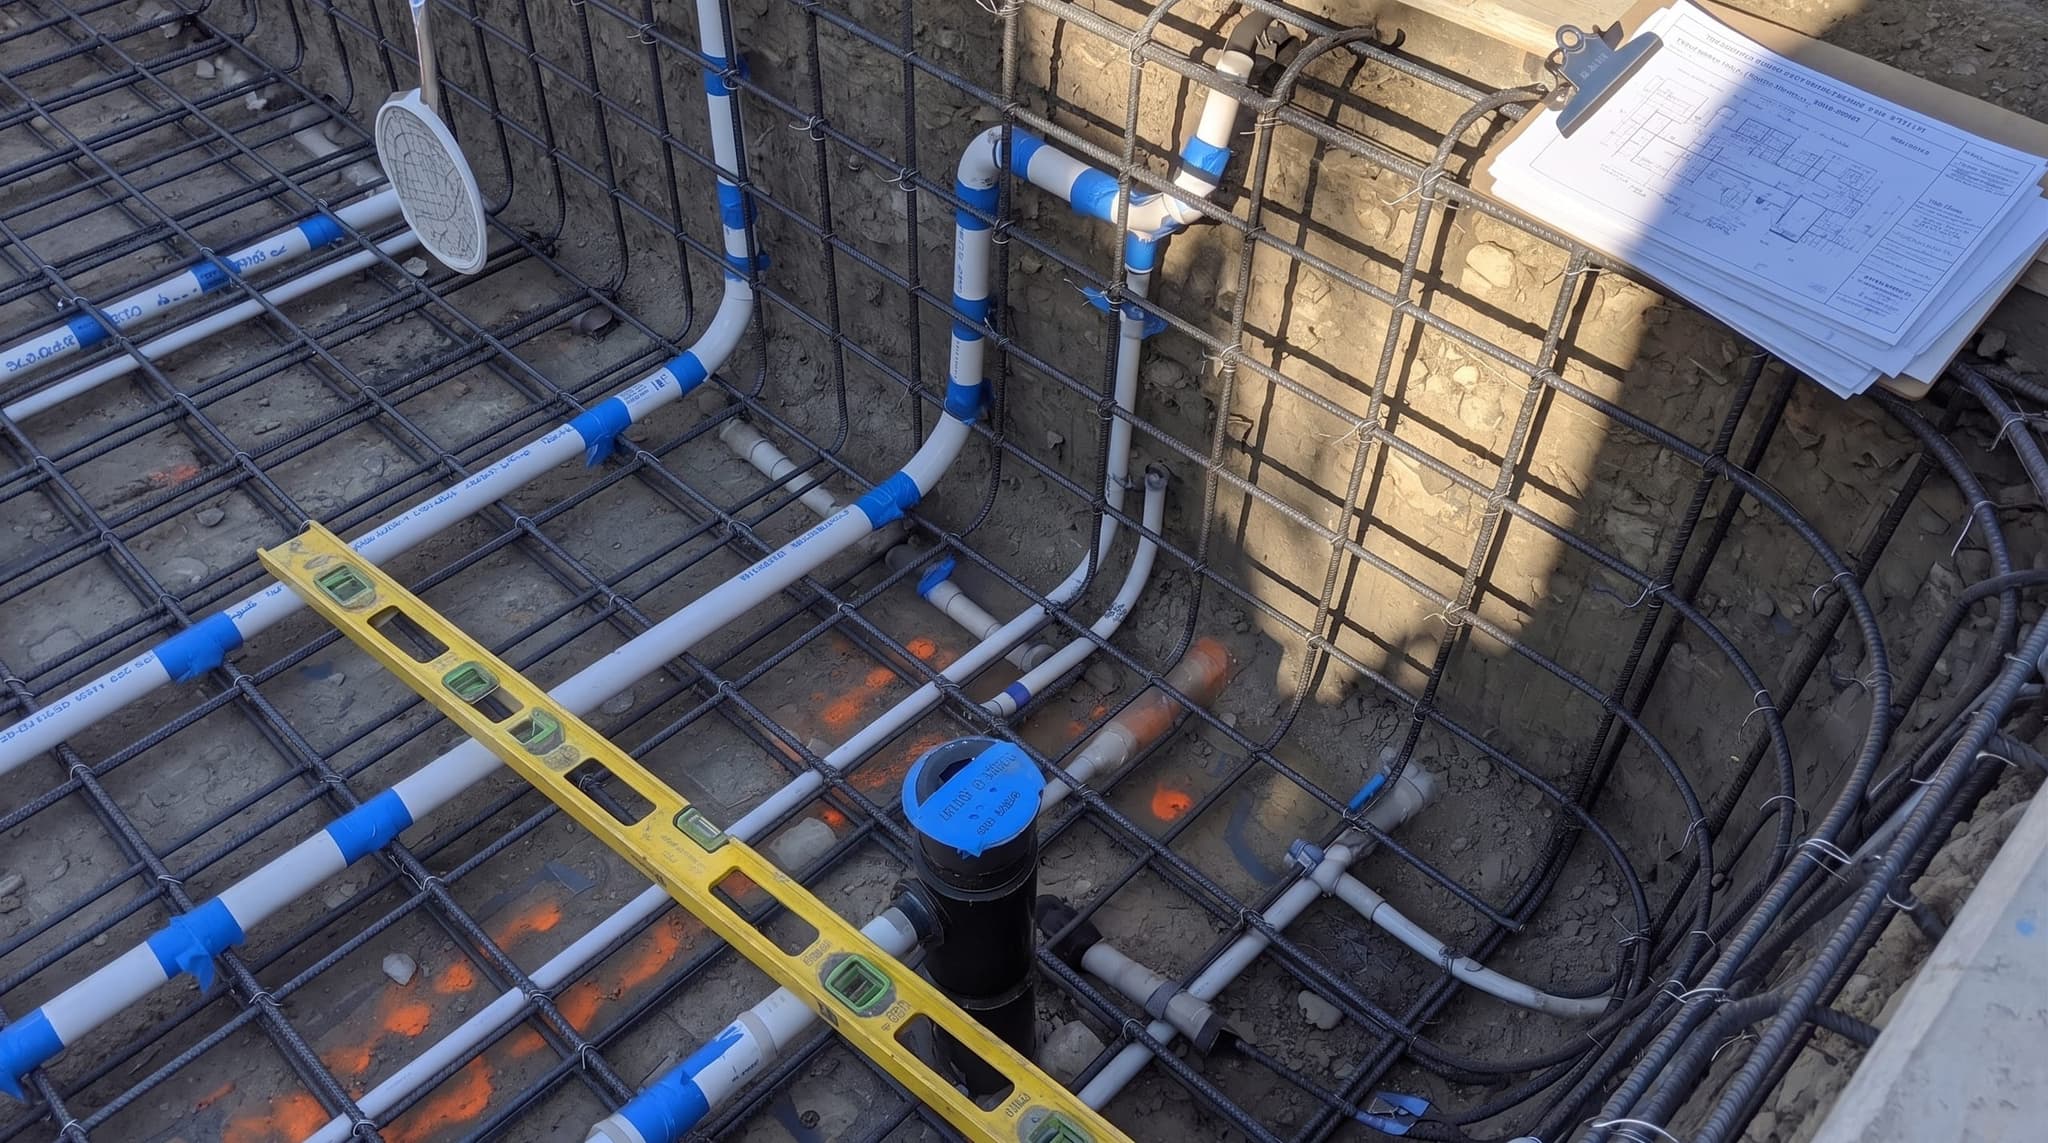
    Tight angle close-up inside an excavated pool pit. A grid of freshly tied black rebar fills the frame, forming the structural skeleton of the pool shell. PVC hydraulic plumbing lines rough into the deep end and bond beam. A skimmer body and main-drain fitting are set in their final positions, capped with blue tape. Engineered plans on a clipboard at the deck edge are blurred in the background.
  5. 05

    Week 8: Shotcrete shell

    One loud day. Pneumatic concrete shot at high pressure and hand-troweled into the shell. We start a 28-day water cure that afternoon. The shell needs to reach full strength before any finish goes on.
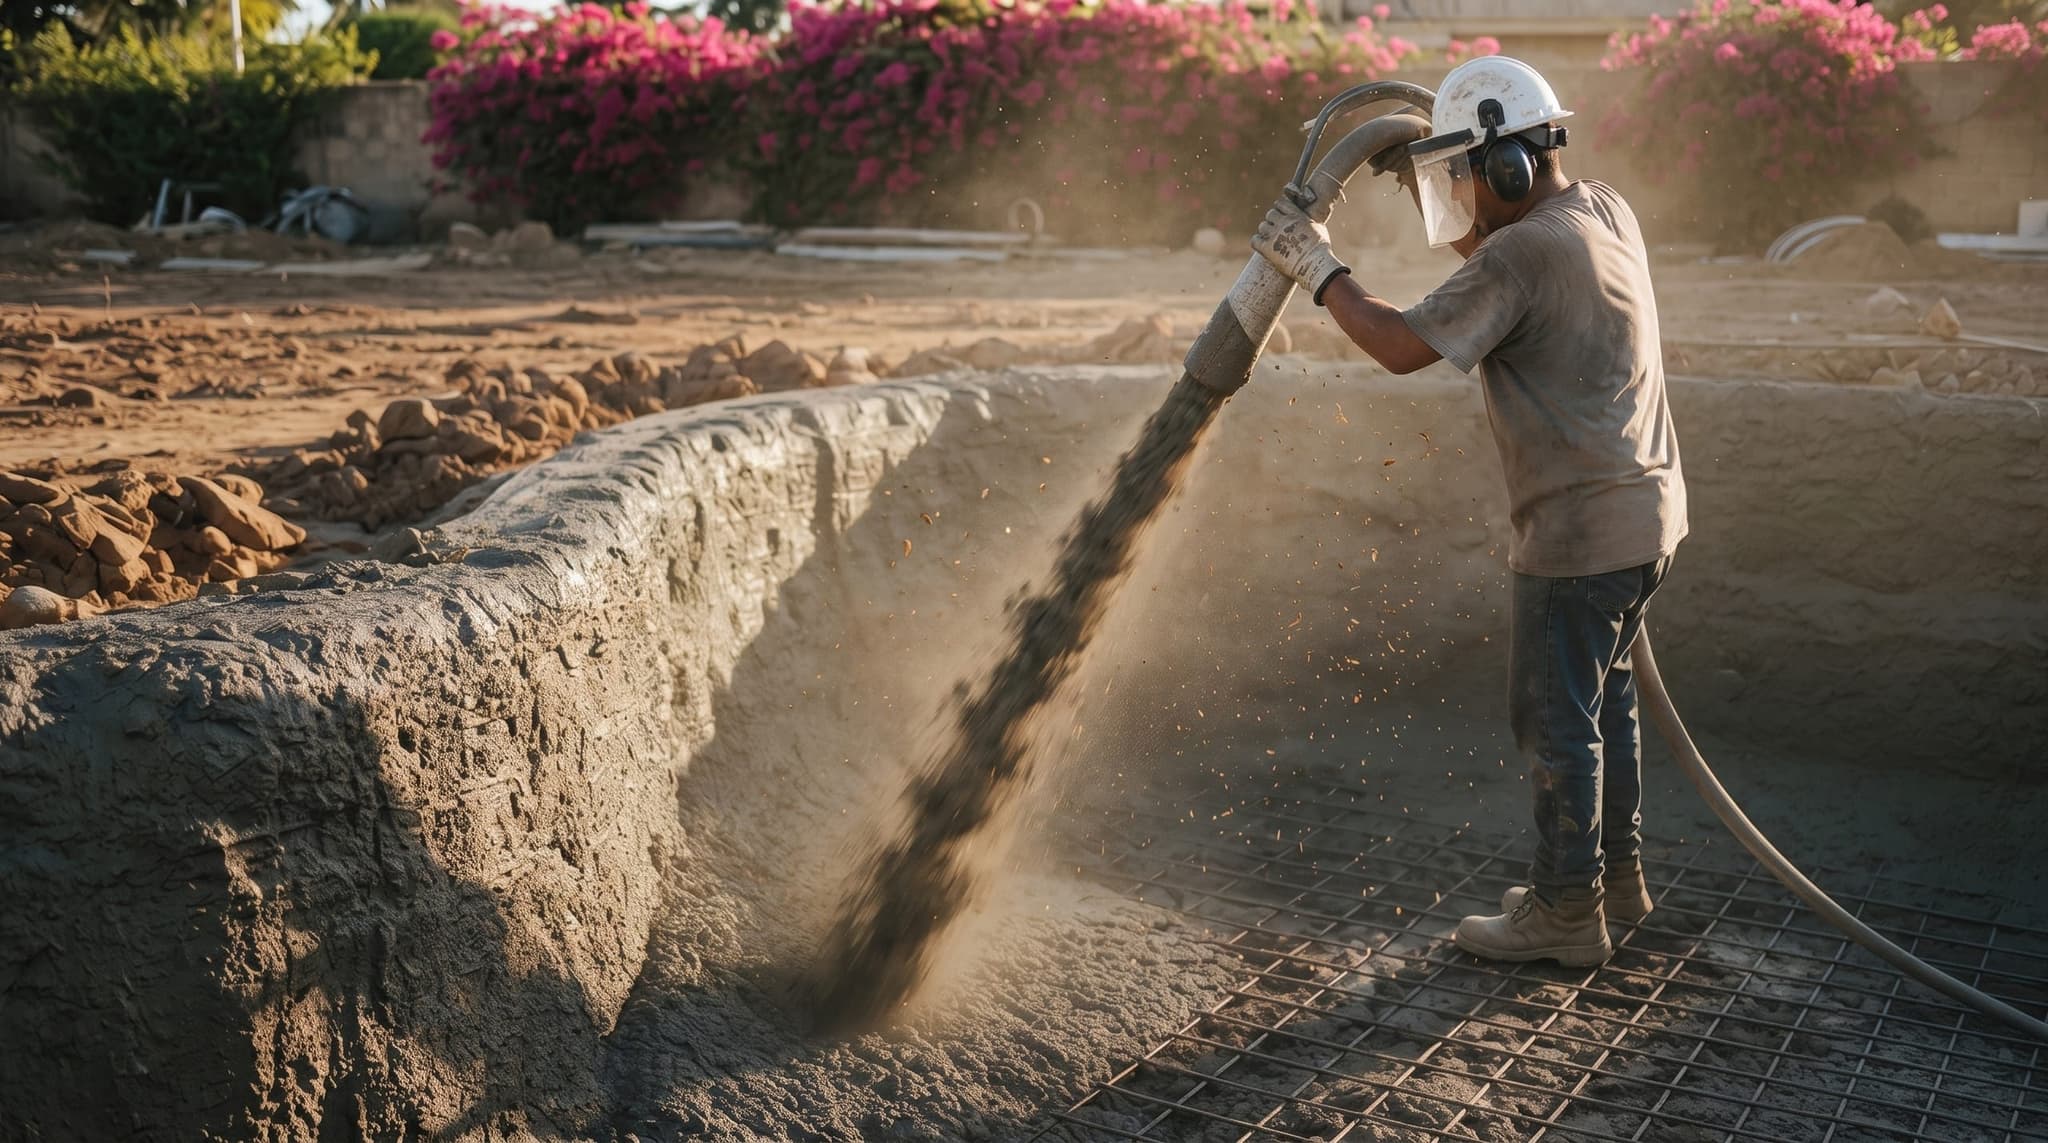
    Shotcrete crew applying pneumatic concrete to the pool shell on an Inland Empire residential lot. Dust hanging in raking morning side-light, spray nozzle in motion, the dense gray shell taking shape.
  6. 06

    Weeks 9–11: Coping & tile

    We set the coping (stone or concrete profile) on the bond beam. That defines the edge. Waterline tile goes in just below. These are the two details people notice every day, so we slow down to get them right.
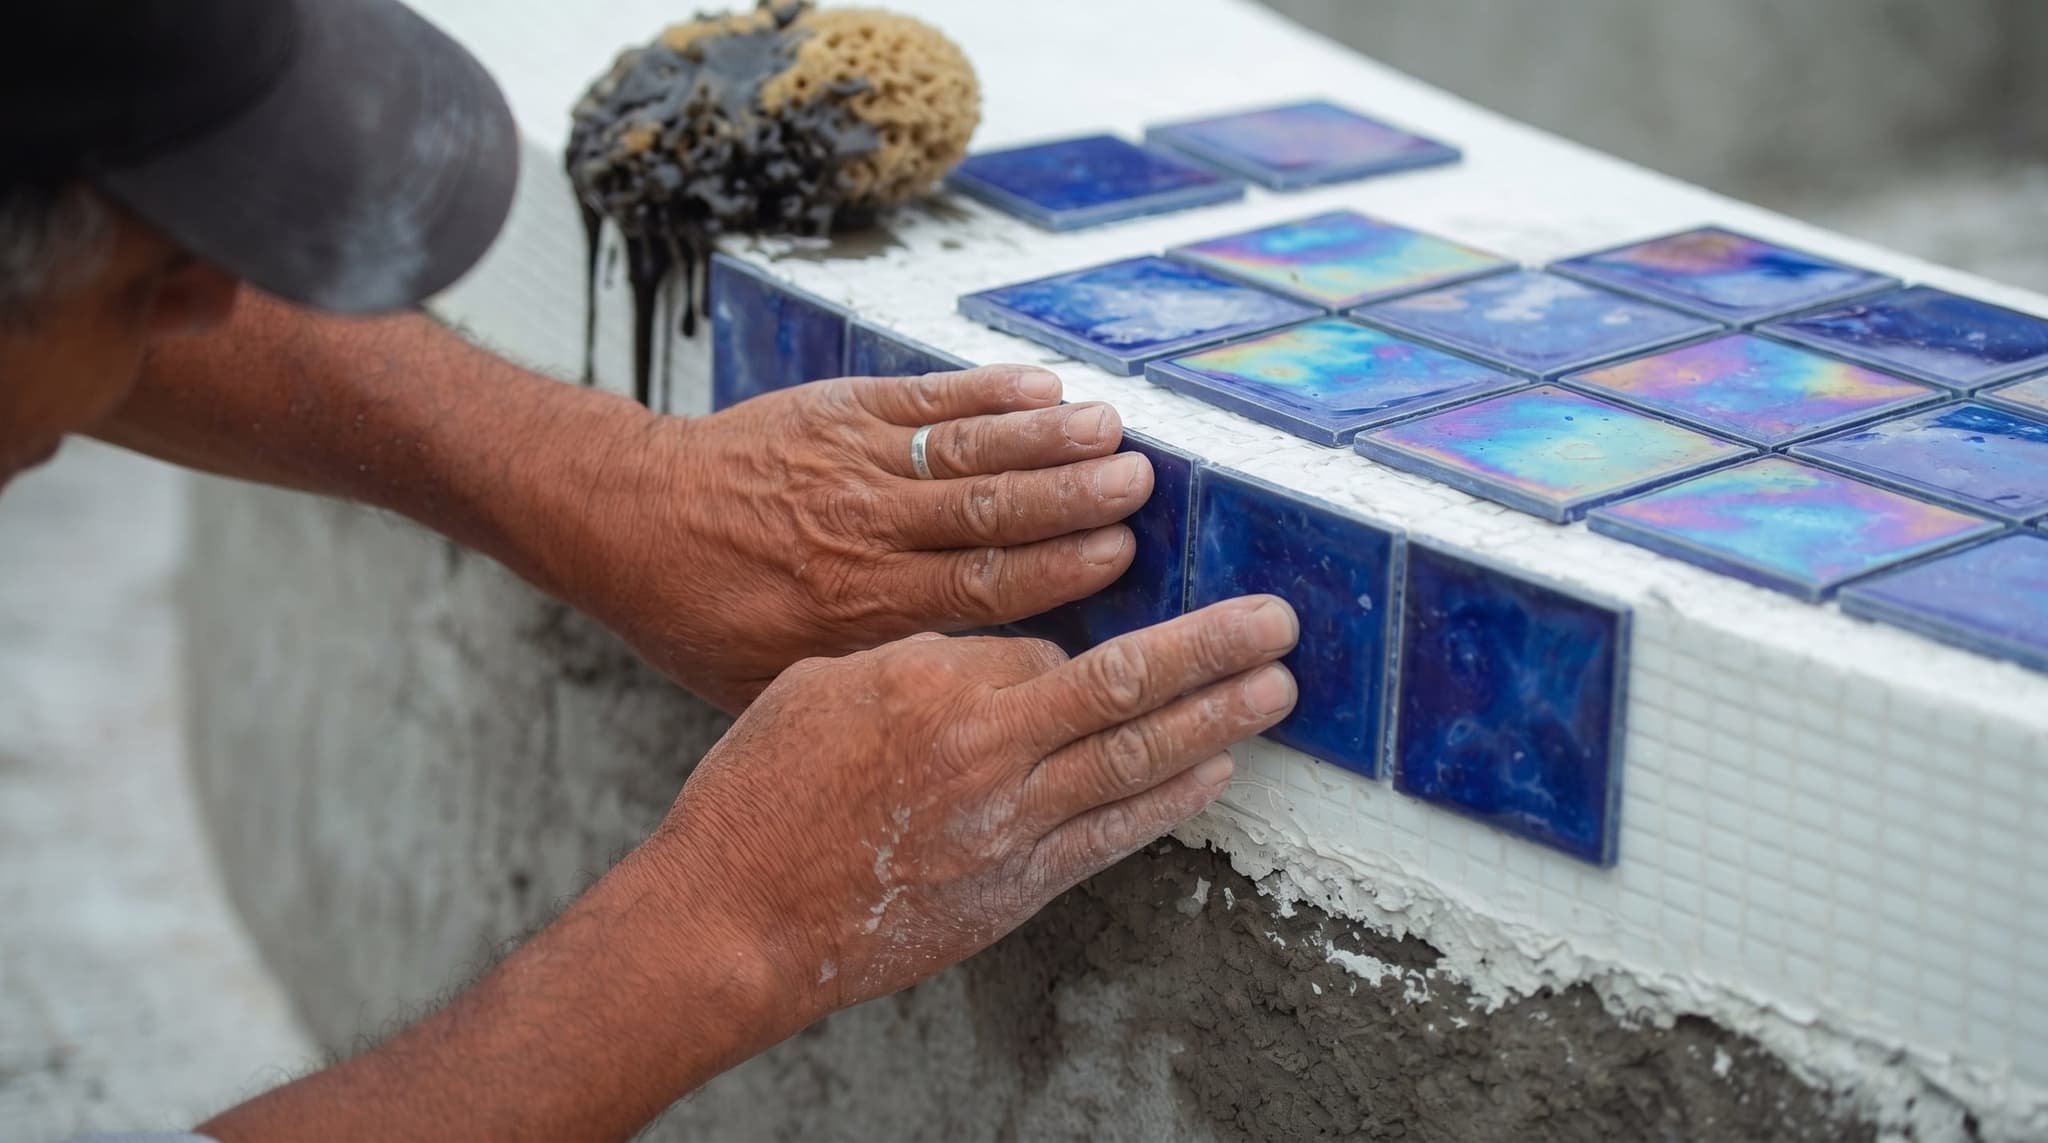
    Overhead close-up of weathered hands carefully placing iridescent blue glass mosaic tile sheets along the waterline of a partially filled pool, adhesive visible behind one tile sheet, wet sponge on the coping
  7. 07

    Weeks 12–13: Decking

    We pour and finish the concrete deck. Broom, salt, exposed aggregate, or stamped, your call. Expansion joints cut to the engineered plan. Mastic sealed at the coping line.
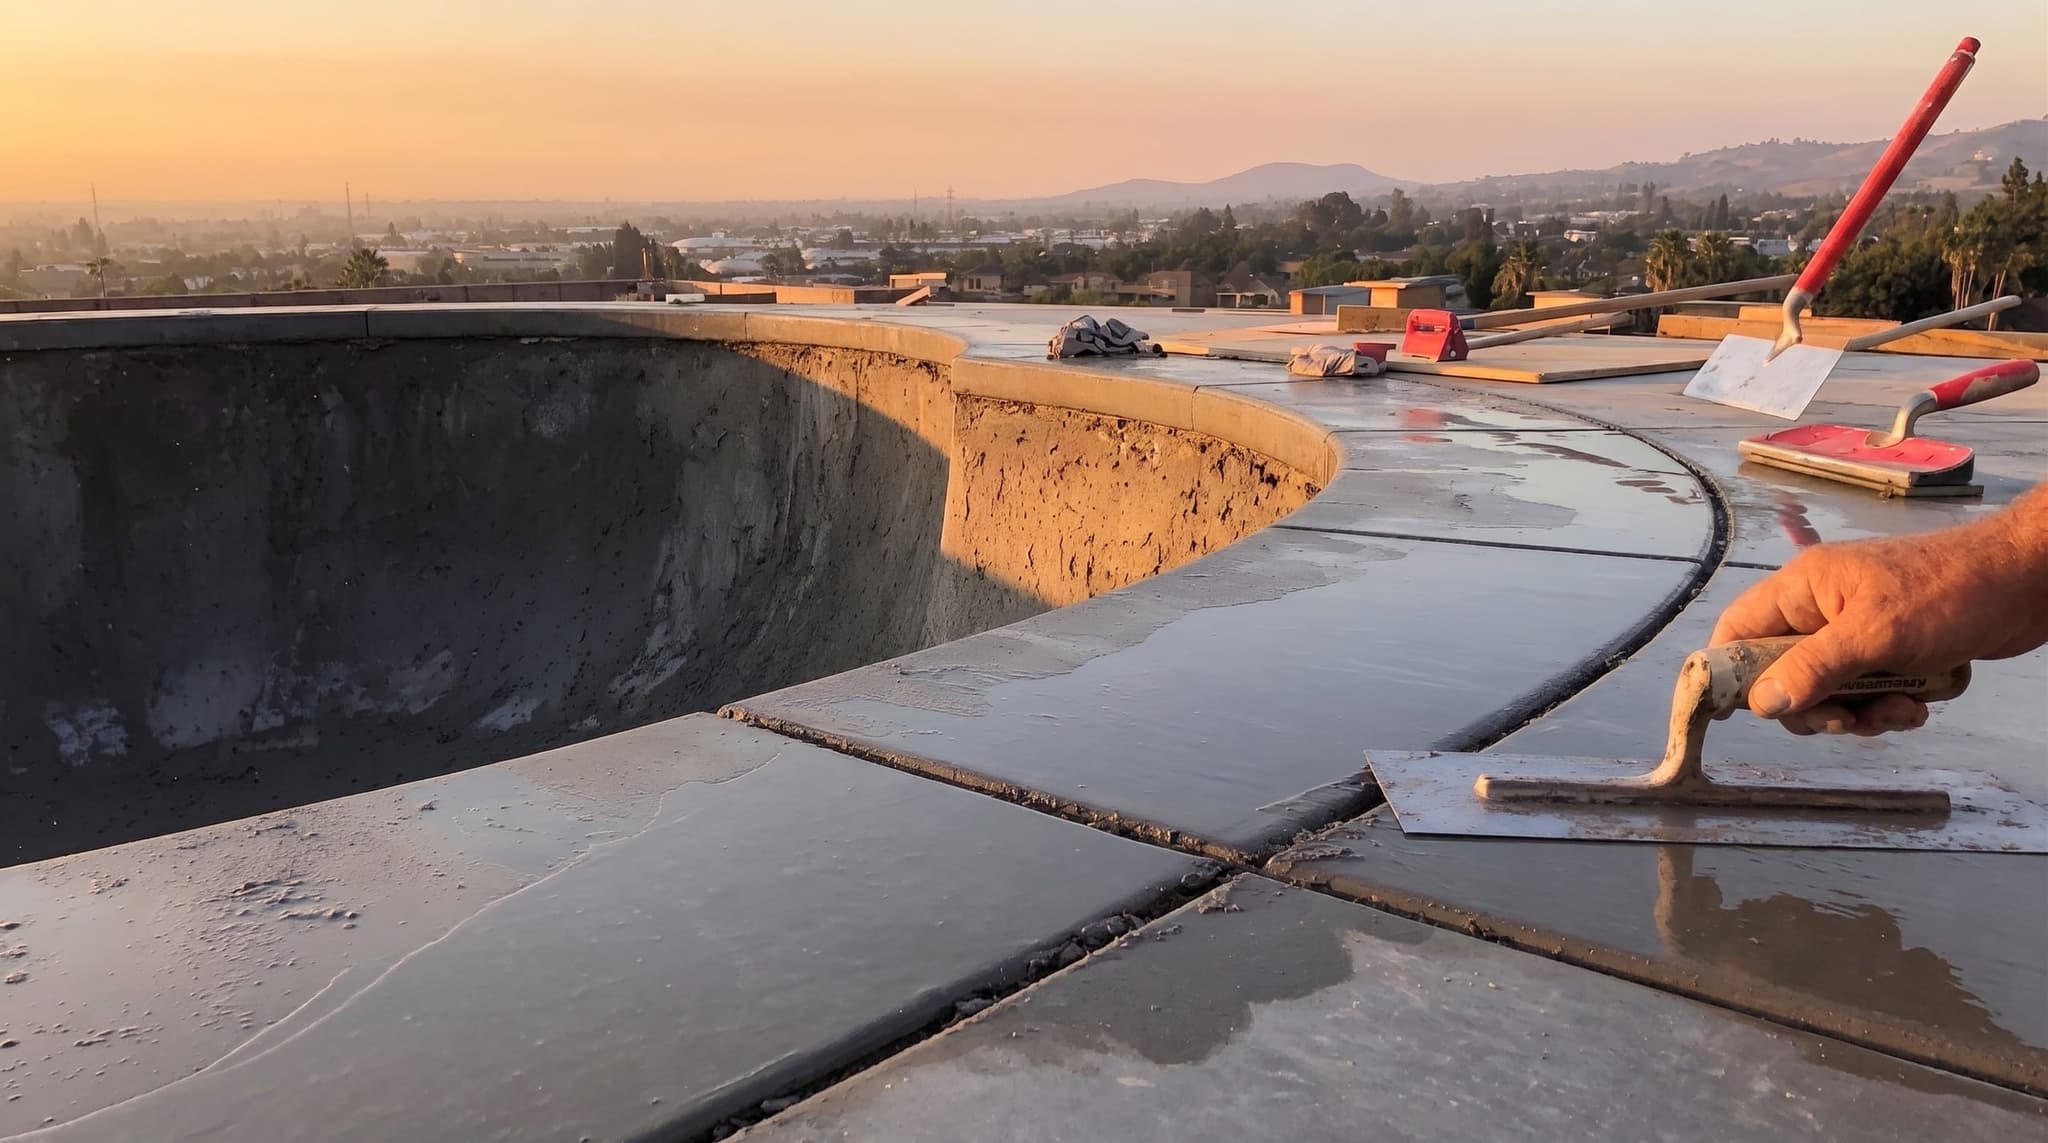
    Concrete deck pour in progress around a freshly shot pool shell at golden hour. A weathered hand holds a magnesium float trowel mid-stroke, smoothing the wet concrete near the coping line. The pool shell (shotcrete gray, no plaster yet) is visible beside the deck pour. Expansion joints freshly cut visible in the foreground. Bull-floats and edging tools resting at the deck edge. The Inland Empire valley opens out behind the lot.
  8. 08

    Weeks 14–15: Plaster & first swim

    Interior finish goes on (pebble, quartz, or plaster) and water starts flowing the same day. We run startup chemistry every day through the 28-day cure. Final inspection, walkthrough on equipment and care, your first swim. After that, we're a phone call away. Same number, same owner, for the life of the warranty.
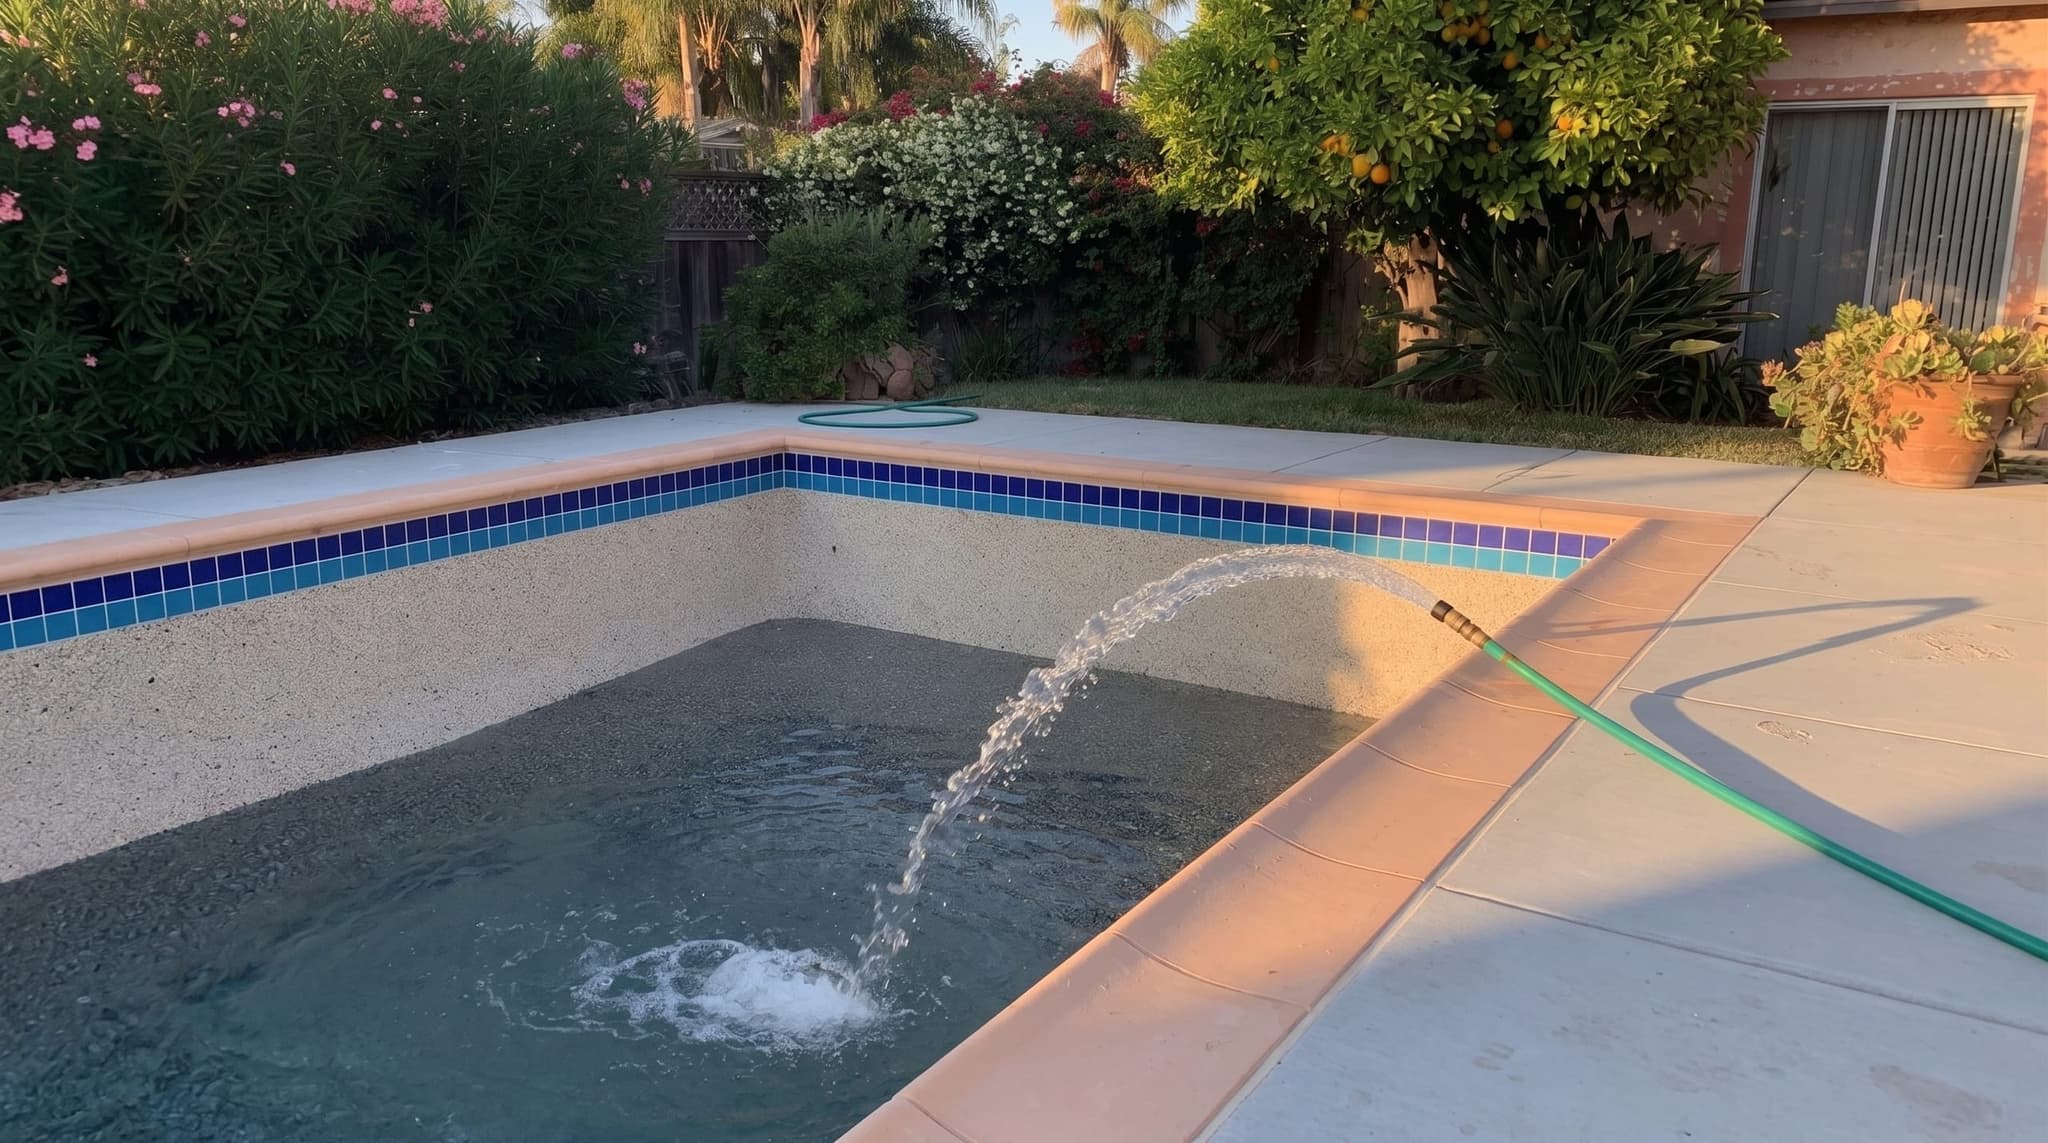
    Wide environmental shot of a backyard pool being filled for the first time. Garden hose curving over fresh coping, water arcing into the pool at about 30% capacity, new pebble interior visible above the waterline, late afternoon warm side-light.
Start a project

Step one is a walk-through.

Tell us about the yard. We’ll come walk it with you and figure out together whether your project is something we should take on.

Start my project
Talk to an owner